 Looking to setup an Auto Logon for Windows and not go through the standard registry hack that most IT people use? You also don’t want the password in clear text like the Reg Hack does?
Killing a stuck process in Windows
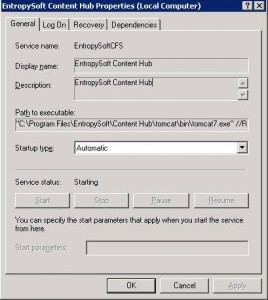
A hanged service looks like this (as you can see, all Start/Stop/Pause/Resume buttons are disabled):
Disable Search Indexing In Windows 7
In order to speed up the search process, the search indexing service scans through the files and folders on the Windows system and records information about them in an index file. But it also consumes some resources of the system, so for the users with a slow computer it is beneficial to turn off search indexing. Go through the following simple steps to disable search indexing.
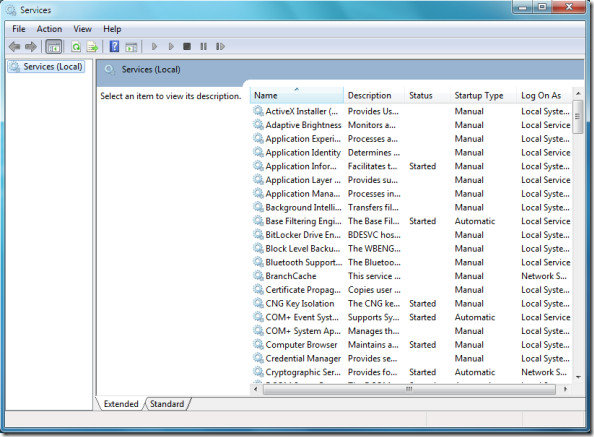
First of all click Start, type services.msc and press Enter.

This will open Services dialogue box.
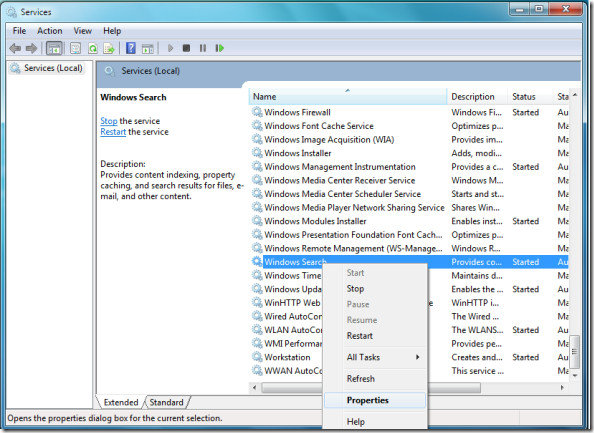
Now locate the Windows Search service in the list of services, right click it and choose Properties.
In the startup type drop down box, choose the Disabled option.
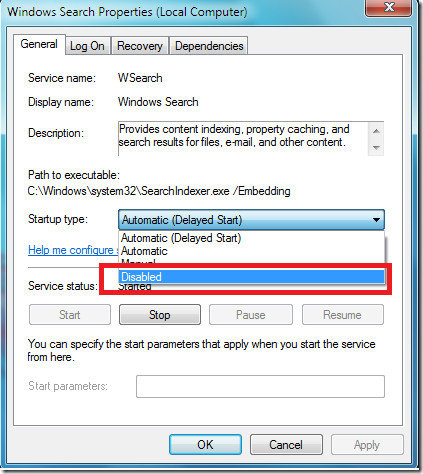
Click the Apply button, reboot your computer and that’s it, Search Indexing has been disabled. Enjoy!
How to Enable Auto Logon for Windows Joined as Domain Member
Follow these procedure to force Windows to skip and bypass asking user for user to select or input user name and password:
- Click Start, click Run, type regedit, and then click OK. In Windows Vista or 7, simply type regedit in Start Search and hit Enter.
- Navigate to the following registry key: HKEY_LOCAL_MACHINE\SOFTWARE\Microsoft\Windows NT\CurrentVersion\Winlogon
- Double-click the DefaultUserName entry, type the user name to log on with, and then click OK.
- If DefaultUserName registry value name is not found, create the new String Value (REG_SZ) with value name as DefaultUserName.
- Double-click the DefaultPassword entry, type the password for the user account under the value data box, and then click OK.
- If there is no DefaultPassword value, create a new String Value subkey (REG_SZ) with DefaultPassword as the value name.
- In Windows, DefaultDomainName has to be specified as well, else Windows will prompt of invalid user name with user name displayed as .\username. To do so, double click on DefaultDomainName, and specify the domain name of the user account. If it’s local user, specify local host name.
- If the DefaultDomainName does not exist, create a new String Value (REG_SZ) registry key with value name as DefaultDomainName.
- Double-click the AutoAdminLogon entry, type 1 in the Value Data box, and then click OK.
- If there is no AutoAdminLogon entry, create a new String Value entry (REG_SZ) with AutoAdminLogon as the value name.
- If exist, delete the AutoLogonCount key.
- Quit Registry Editor.
- Click Start, click Restart, and then click OK.
Enabling SNMP on Windows OS
STEP 1:
Open up the Control Panel and go to Programs. Click on “Turn Windows features on or off”

STEP 2:
Check the box to enable SNMP. Dont forget to enable the WMI as this adds additional OID’s for you to monitor.

STEP 3:
Open up SERVICES and find the SNMP Service and double click on it. This will provide you with a Service Dialog box.

STEP 4:
Click on the AGENT tab. Type in your contact info (such as your email or phone number). Type in the Location and/or Name of this server you are monitoring. Make sure to select ALL check-boxes.

STEP 5:
Click on the SECURITY tab and select the radio button that says “Accept SNMP packets from any host”
(NOTE: as long as you only set Read Only access to the Community string in Step 6, there is NO security risk)

STEP 6:
Click on The ADD button to add a new Community string. My suggestion is to add a community string that is not the standard “public” community string. Make up a string that fits your Company, department, etc…, and make sure you set it as READ ONLY!

STEP 7:
Open up the SERVICES window and you can now restart the SNMP service and you are ready to monitor your server!
(NOTE: you will need to enable port 161 for SNMP traffic if you have a firewall between your monitoring system and the server you just configured)
